Text is one of the most important elements in any design. Whether you’re creating social media graphics, flyers, posters, presentations, videos, business materials, or educational content, Adobe Express makes it easy to add and customize text boxes.
A text box allows you to place words, headlines, captions, descriptions, and calls-to-action anywhere on your design canvas. Adobe Express provides a wide variety of fonts, text styles, effects, and formatting options to help you create professional-looking content.
In this guide, you’ll learn how to add a text box in Adobe Express and customize it to fit your project.

Quick Answer
To add a text box in Adobe Express:
- Open your project.
- Click Text.
- Choose a text style.
- Add a heading, subheading, or body text.
- Type your content.
- Move and resize the text box.
- Customize the font, color, and formatting.
- Save or export your design.
Every text element in Adobe Express is placed inside a text box.
What Is a Text Box?
A text box is a container that holds text within a design.
Text boxes are commonly used for:
- Headlines
- Titles
- Captions
- Descriptions
- Quotes
- Labels
- Calls-to-action
Each text box can be moved, resized, and styled independently.
Why Use Text Boxes?
Text boxes provide flexibility and control.
Benefits include:
Easy Positioning
Place text anywhere on the canvas.
Better Organization
Separate different content sections.
Independent Formatting
Each text box can have unique styling.
Improved Readability
Arrange content more effectively.
Professional Design
Create structured layouts.
Step 1: Open Adobe Express
Sign in to Adobe Express and open an existing project or create a new one.
Text boxes can be added to:
- Social media graphics
- Posters
- Flyers
- Presentations
- Videos
- Web pages
- Documents
Step 2: Click the Text Tool
Locate the:
Text
option in the Adobe Express toolbar.
Clicking it opens text creation options.
Step 3: Choose a Text Type
Adobe Express typically offers:
Heading
Large text for titles.
Subheading
Medium-sized supporting text.
Body Text
Smaller text for detailed information.
Select the option that best fits your design.
Step 4: Create the Text Box
After selecting a text type:
- A text box appears on the canvas.
- Click inside the box.
- Begin typing.
Your content is immediately visible in the design.
Step 5: Enter Your Text
Examples include:
Social Media Post
“New Product Launch”
Flyer
“Join Us This Saturday”
Presentation
“Quarterly Business Results”
Educational Material
“What Is Artificial Intelligence?”
Keep text concise whenever possible.
Step 6: Move the Text Box
Click and drag the text box to reposition it.
You can place text:
- Above images
- Below graphics
- In the center of the canvas
- Along the sides
Positioning helps establish visual hierarchy.
Step 7: Resize the Text Box
Drag the handles around the text box to:
- Increase width
- Increase height
- Adjust text wrapping
Larger text boxes can accommodate longer content.
Step 8: Change the Font
Adobe Express includes a large font library.
You can choose:
Sans-Serif Fonts
Modern and clean.
Serif Fonts
Traditional and professional.
Script Fonts
Elegant and decorative.
Display Fonts
Bold and attention-grabbing.
Select a font that matches the purpose of the design.
Step 9: Change Text Color
Text color affects visibility and branding.
Popular choices include:
Black
Professional and versatile.
White
Ideal for dark backgrounds.
Blue
Corporate and trustworthy.
Red
Attention-grabbing and energetic.
Brand Colors
Maintain consistency across projects.
Choose colors that provide strong contrast against the background.
Step 10: Apply Text Effects
Adobe Express supports various text effects.
Examples may include:
Shadows
Create depth.
Outlines
Improve readability.
Glow Effects
Highlight important messages.
Background Highlights
Make text stand out.
Use effects sparingly for the best results.
Step 11: Adjust Alignment
Text can be aligned:
Left
Common for paragraphs.
Center
Popular for headlines.
Right
Occasionally used for decorative layouts.
Choose the alignment that fits your design structure.
Step 12: Layer Text with Other Elements
Text boxes work alongside:
- Images
- Icons
- Shapes
- Videos
- Backgrounds
You can move text forward or backward within the design to achieve the desired layering effect.
Best Uses for Text Boxes
Social Media Graphics
Add headlines and captions.
Posters
Display event information.
Flyers
Communicate offers and promotions.
Presentations
Highlight key messages.
Educational Materials
Provide explanations and instructions.
Videos
Add titles and subtitles.
Design Tips for Better Text
Keep Headlines Short
Large blocks of text reduce impact.
Use Contrast
Text should stand out clearly.
Limit Font Variety
Use one or two fonts whenever possible.
Maintain Consistent Spacing
Create a balanced layout.
Use Hierarchy
Make important text larger than supporting content.
Common Mistakes
Too Much Text
Overcrowded designs are difficult to read.
Low Contrast
Text can disappear into the background.
Excessive Fonts
Too many styles create visual confusion.
Poor Placement
Avoid placing text over busy areas.
Tiny Font Sizes
Ensure readability on mobile devices.
Creating Text Boxes for Videos
Adobe Express allows text overlays in video projects.
Examples:
Intro Titles
Introduce the topic.
Captions
Support viewers watching without sound.
Calls-to-Action
Encourage subscriptions or purchases.
Closing Screens
Provide next steps.
Text boxes are a powerful video editing tool.
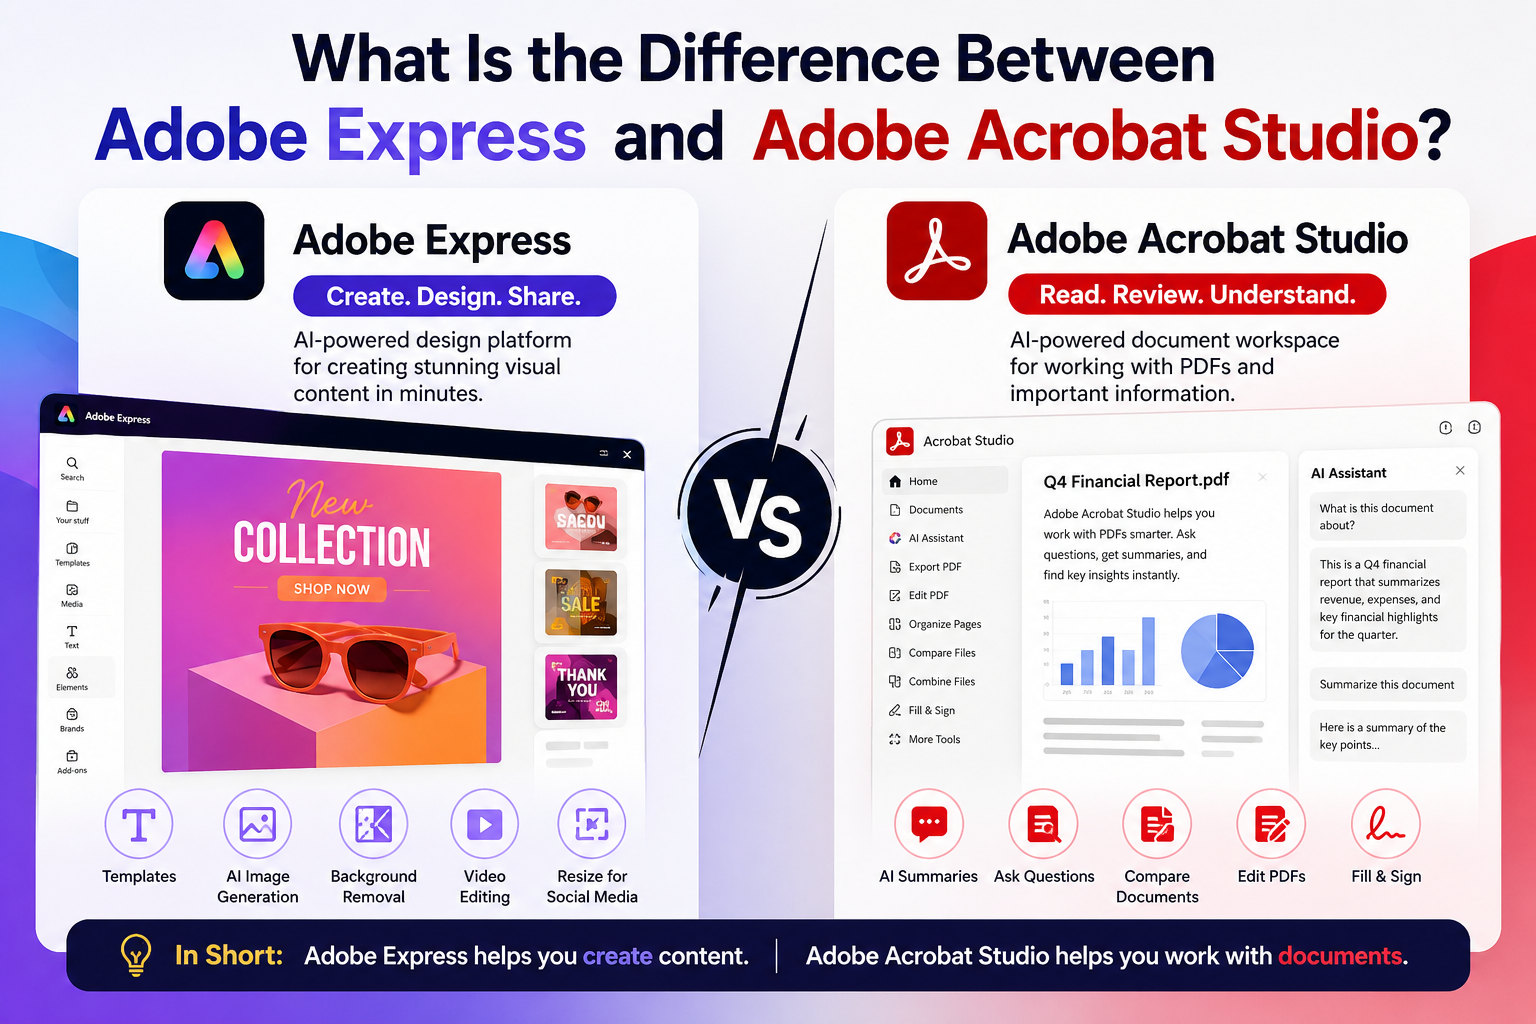
Adobe Express vs Professional Design Software
Adobe Express offers:
- Quick text editing
- Easy formatting
- Beginner-friendly workflows
For advanced typography, designers often use:
Adobe Illustrator
Adobe InDesign
Adobe Photoshop
However, Adobe Express provides more than enough text functionality for most everyday projects.
Frequently Asked Questions
How do I add a text box in Adobe Express?
Click the Text tool and choose a text style to create a new text box.
Can I move text boxes?
Yes. Text boxes can be freely repositioned on the canvas.
Can I change fonts?
Yes. Adobe Express includes a large library of fonts.
Can I resize text boxes?
Yes. Drag the box handles to adjust its size.
Can I use text boxes in videos?
Yes. Text overlays can be added to video projects.
Final Answer
To add a text box in Adobe Express, click the Text tool, select a heading, subheading, or body text option, and begin typing. The text box can then be moved, resized, formatted, and customized using fonts, colors, alignment settings, and text effects. Text boxes are essential for creating clear, professional designs in social media graphics, flyers, posters, presentations, videos, and other Adobe Express projects.